Ever since I became obsessed with SharePoint branding, I had thousands of ides going through my mind. One of them was displaying a profile image next to the user name in the sharepoint ribbon. So I set off to achieve that. It was so easy and I did that in minutes.
So I am going to share the process that I went through to achieve it.
First of all you guys should create Mysite and profile propagation in sharepoint. If you do not do that your site will display error message (This I learned the hard way).
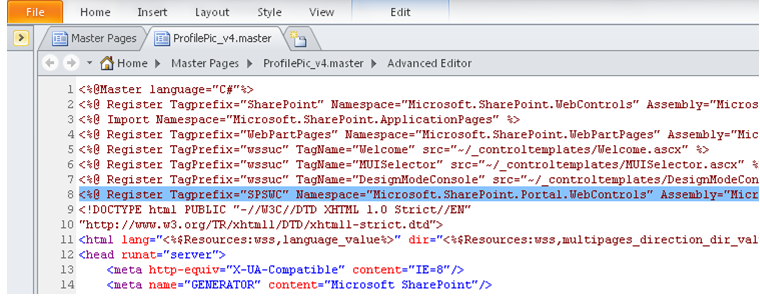
1. Open the sharepoint 2010 designer and open the master page in advanced edit mode. In the declaration section add the following line
<%@ Register Tagprefix="SPSWC" Namespace="Microsoft.SharePoint.Portal.WebControls" Assembly="Microsoft.SharePoint.Portal, version=14.0.0.0, Culture=neutral, PublicKeyToken=71e9bce111e9429c" %>
This would look something like this
First of all you guys should create Mysite and profile propagation in sharepoint. If you do not do that your site will display error message (This I learned the hard way).
1. Open the sharepoint 2010 designer and open the master page in advanced edit mode. In the declaration section add the following line
<%@ Register Tagprefix="SPSWC" Namespace="Microsoft.SharePoint.Portal.WebControls" Assembly="Microsoft.SharePoint.Portal, version=14.0.0.0, Culture=neutral, PublicKeyToken=71e9bce111e9429c" %>
This would look something like this
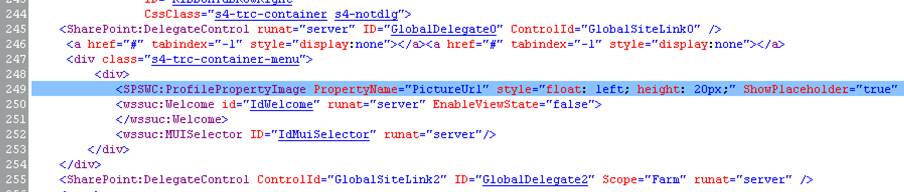
2. Find the welcome text control and add the following lines below it
<SPSWC:ProfilePropertyImage PropertyName="PictureUrl" "float: left; height: 20px;" ShowPlaceholder="true" id="PictureUrlImage" runat="server"/>
This would look something like this
<SPSWC:ProfilePropertyImage PropertyName="PictureUrl" "float: left; height: 20px;" ShowPlaceholder="true" id="PictureUrlImage" runat="server"/>
This would look something like this
A nice trick would be to hide the image if the user has not uploaded an images into their profile page. This can be achieved by changing ShowPlaceholder="true" in the line to ShowPlaceholder="false".
If you want the image to be at the right side of the menu then move the control after the welcome and muiselector controls, also remove the float:left in the picture style.
Modify the code to look like the following
<wssuc:Welcome id="IdWelcome" runat="server" EnableViewState="false"></wssuc:Welcome>
<wssuc:MUISelector ID="IdMuiSelector" runat="server"/>
<SPSWC:ProfilePropertyImage PropertyName="PictureUrl" "height: 20px;" ShowPlaceholder="true" id="PictureUrlImage" runat="server"/>
END RESULT:

Hope you guys liked this neat trick. :)

 RSS Feed
